
How It Works
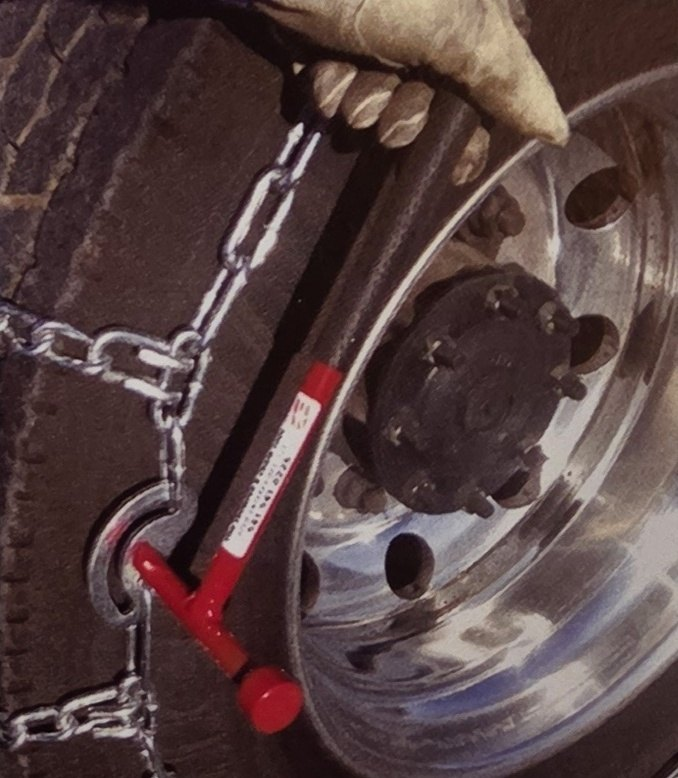
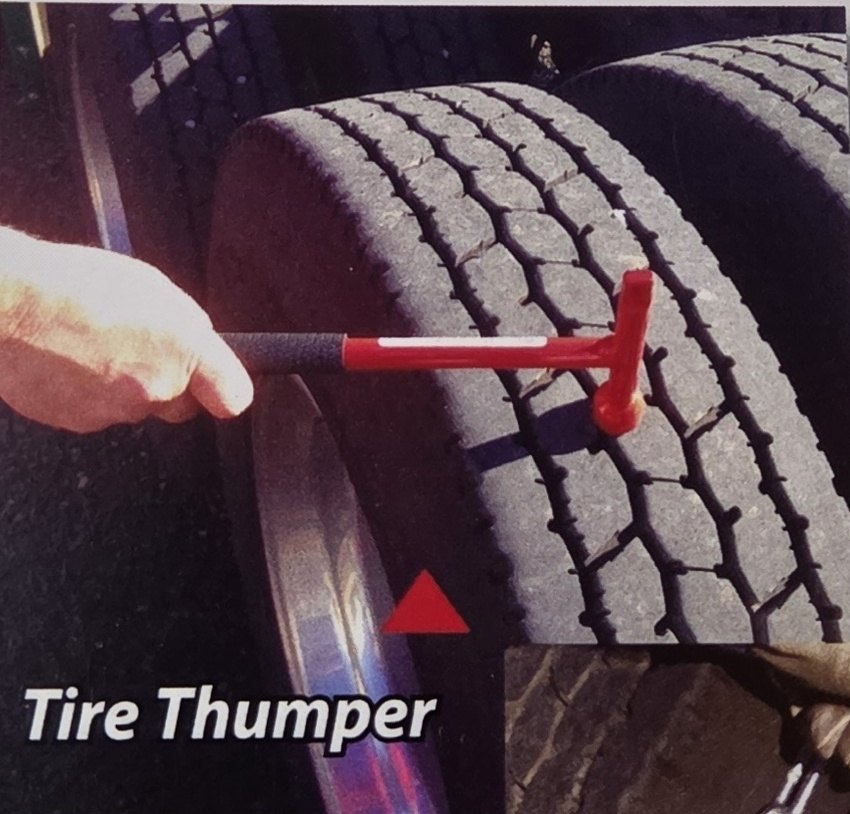
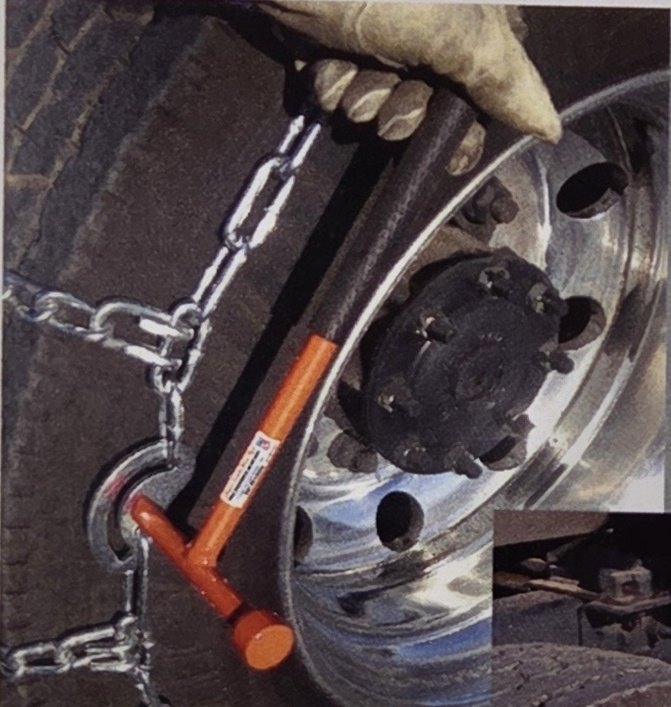
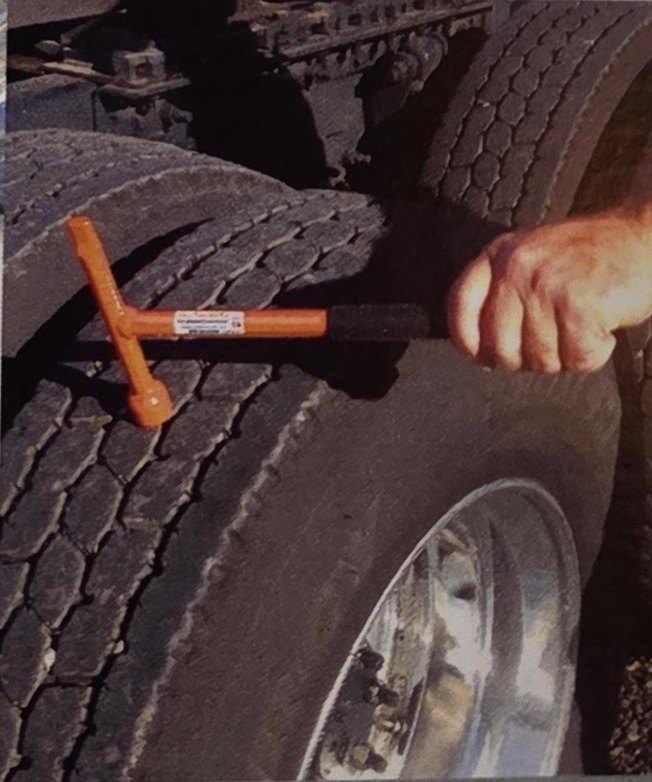
Chain tools and Strap Rollers, shown with the photos and instructions from our brochures.
Chain tools
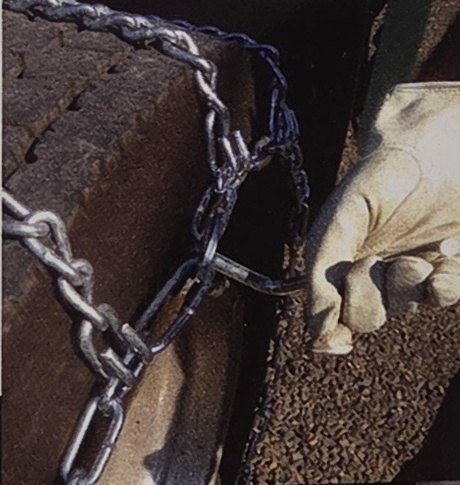
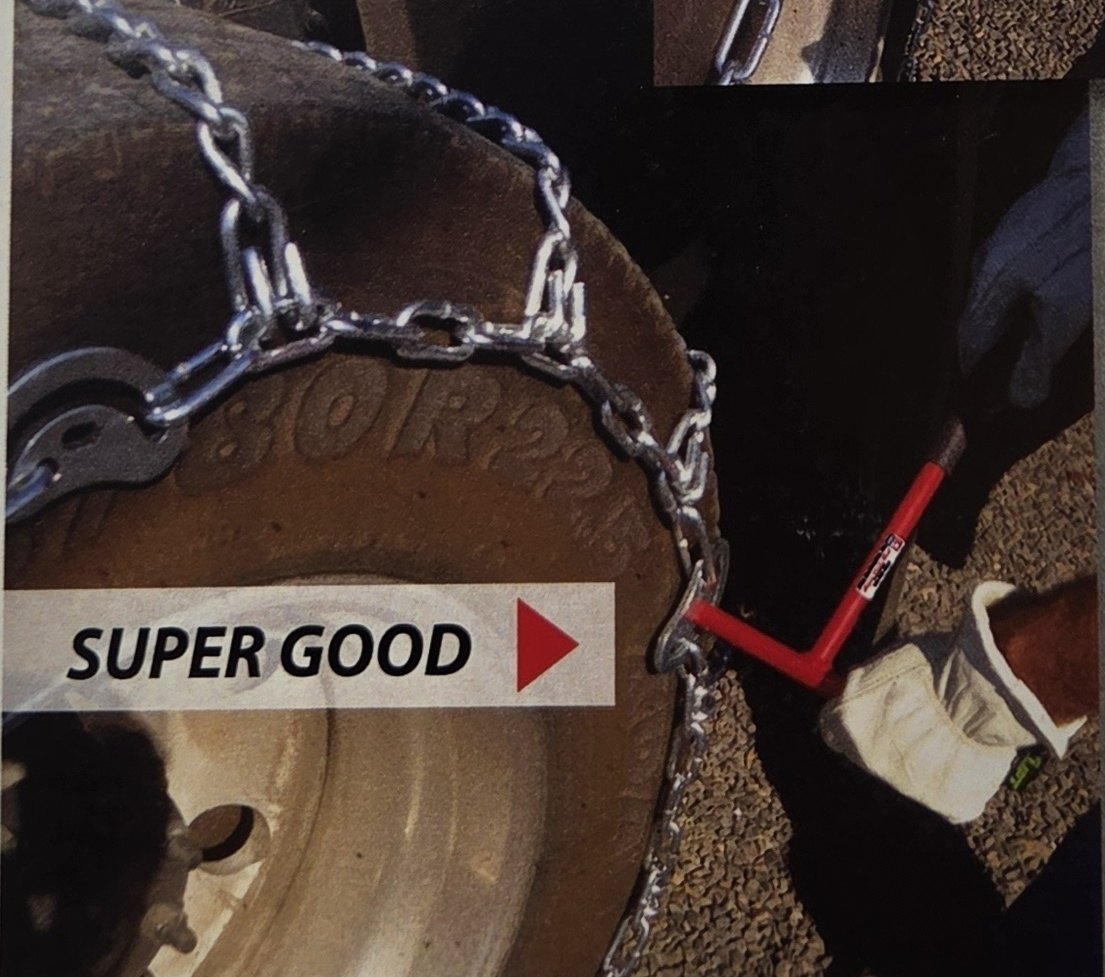
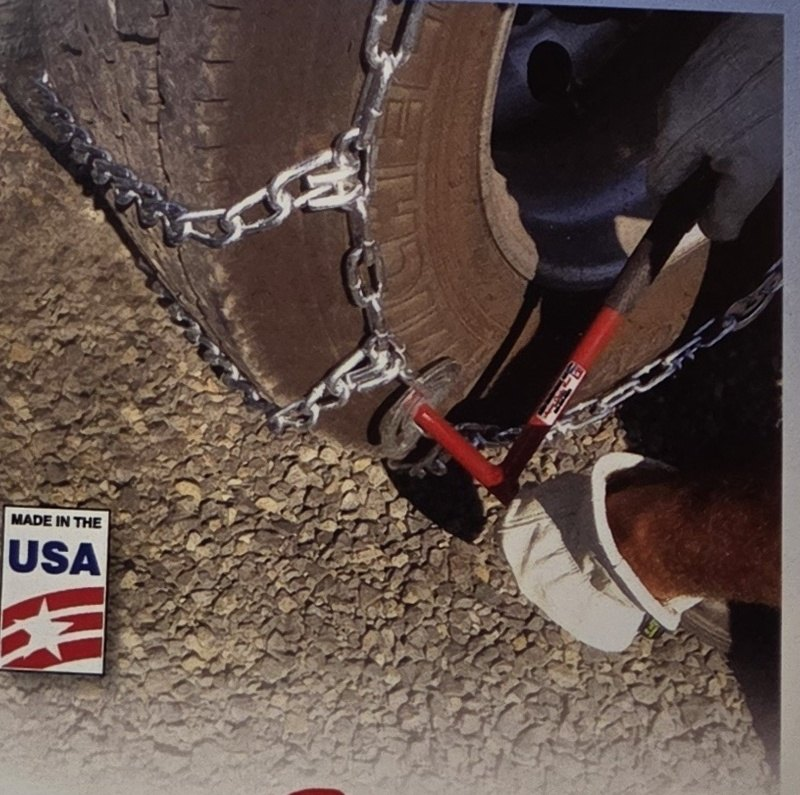
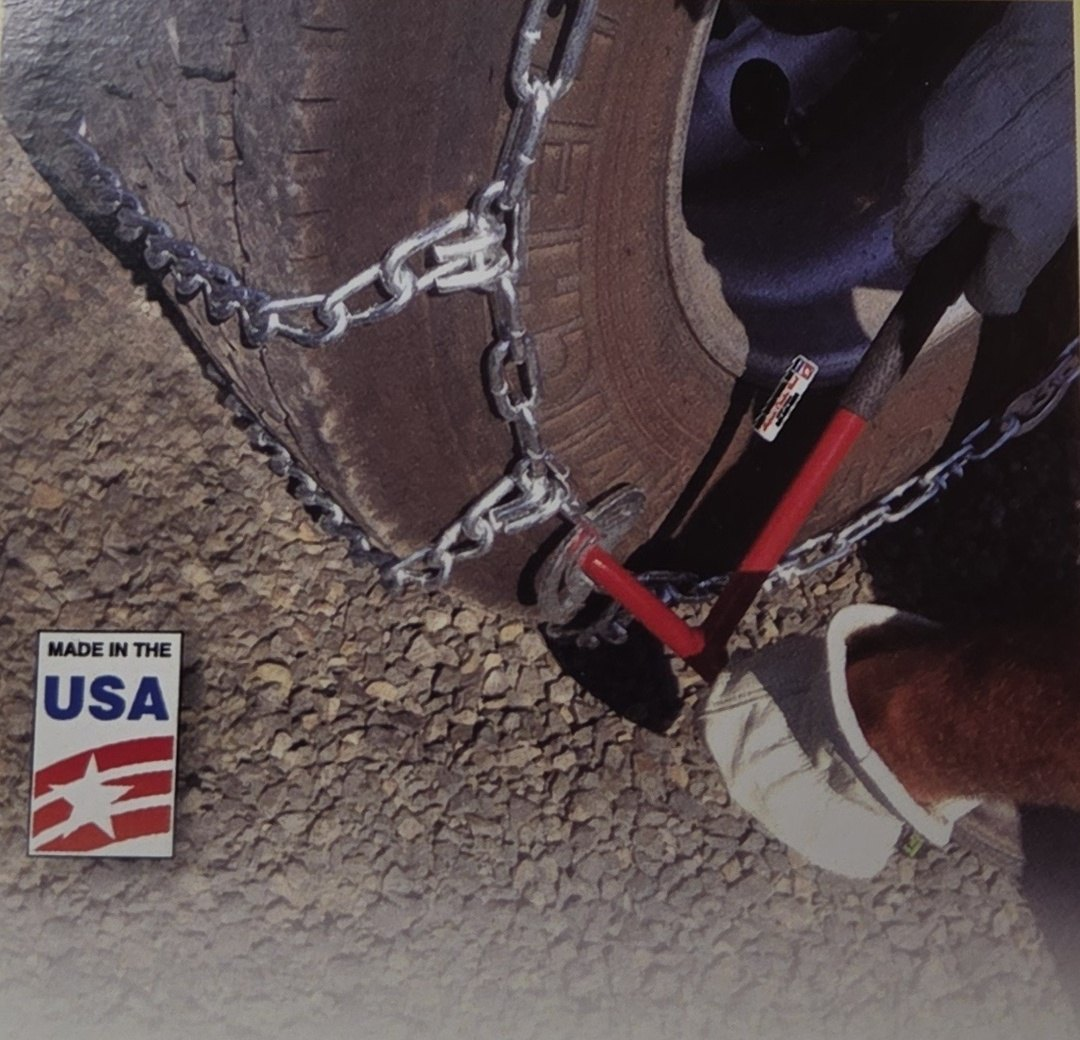
When the sign says “chains required” and you have to roll, the key holds the cam in place with no twisting. The 12 inch handle gives plenty of leverage, and you can use both hands for stability.
Two tools in one
The Super Combo Tool and the Super Mini Combo Tool have a cam lock key on one end and a tire thumper on the other. The Ultimate Chain Tool has an integrated head for tire thumping.
Strap Rollers
Loop your strap onto a spool finger or insert it between two fingers on the spool. Start to rotate the handle and guide the strap onto the spool. Periodically check the handle nut for tightness.
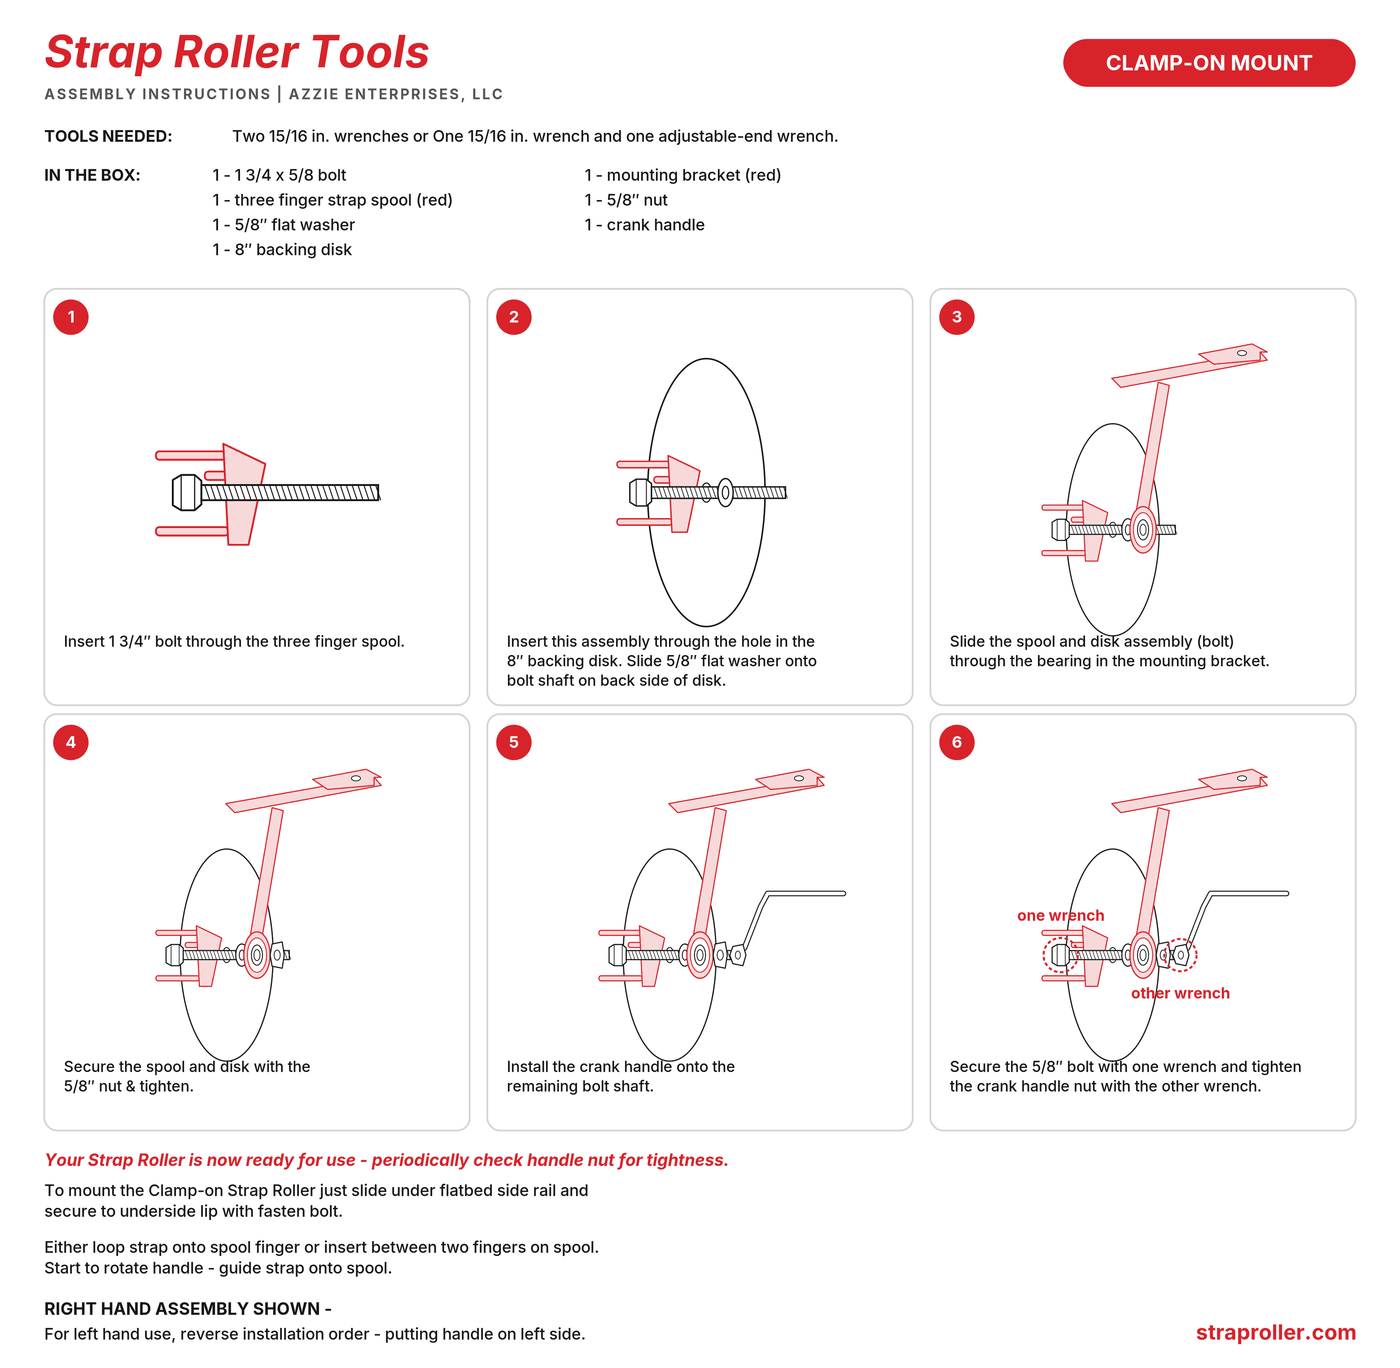
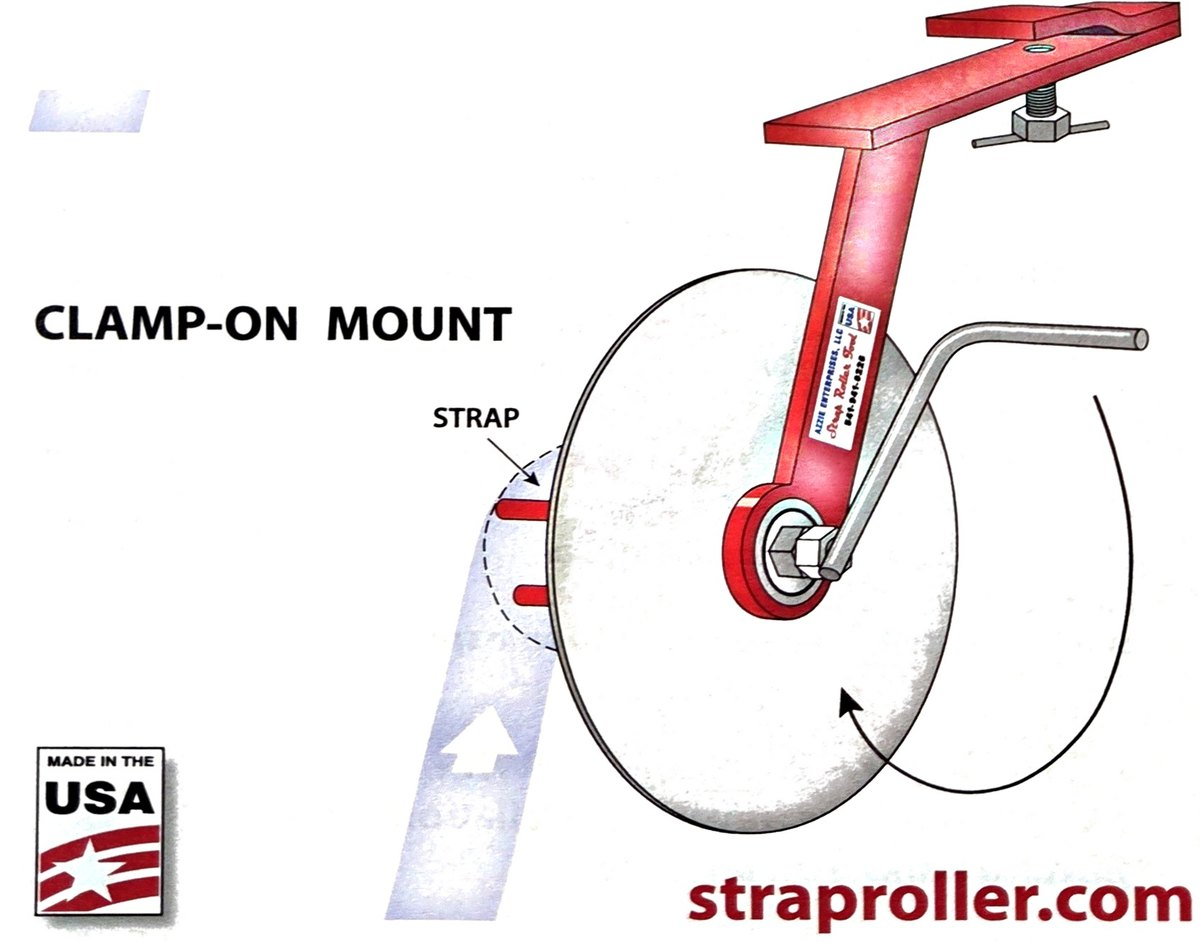
Clamp-On Mount
To mount, slide under the flatbed side rail and secure to the underside lip with the fasten bolt.
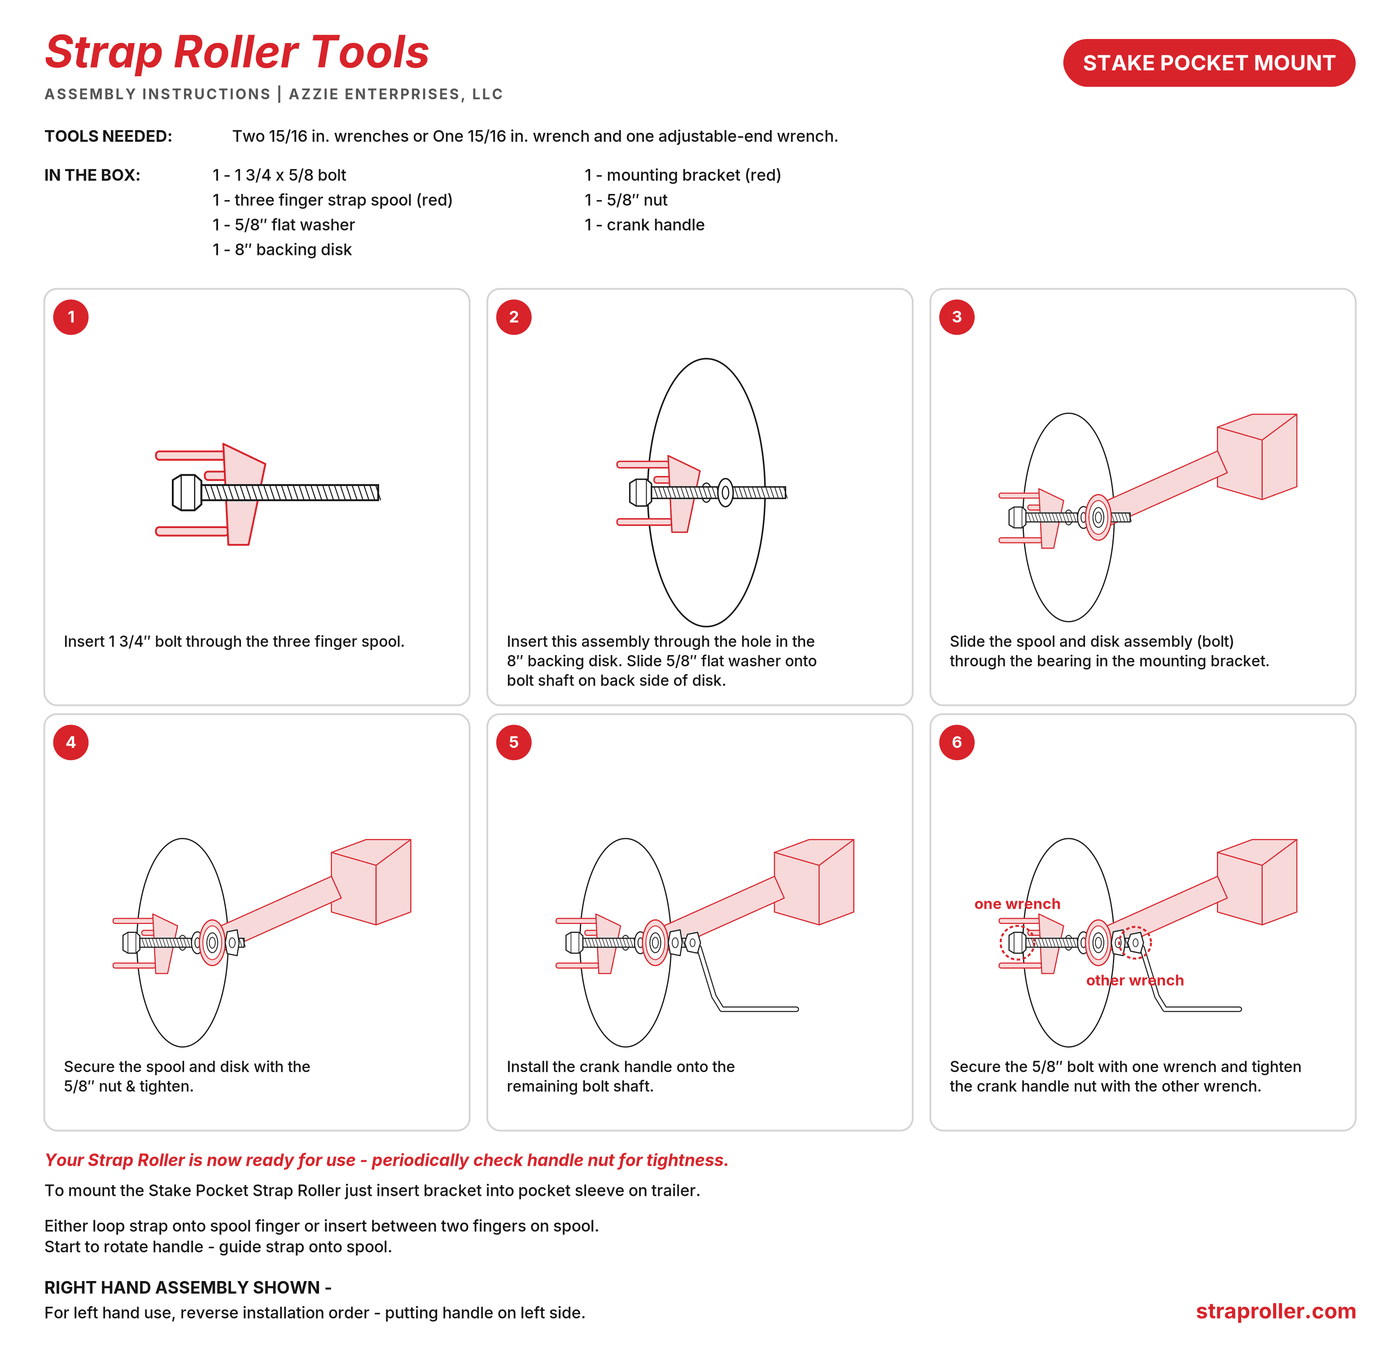
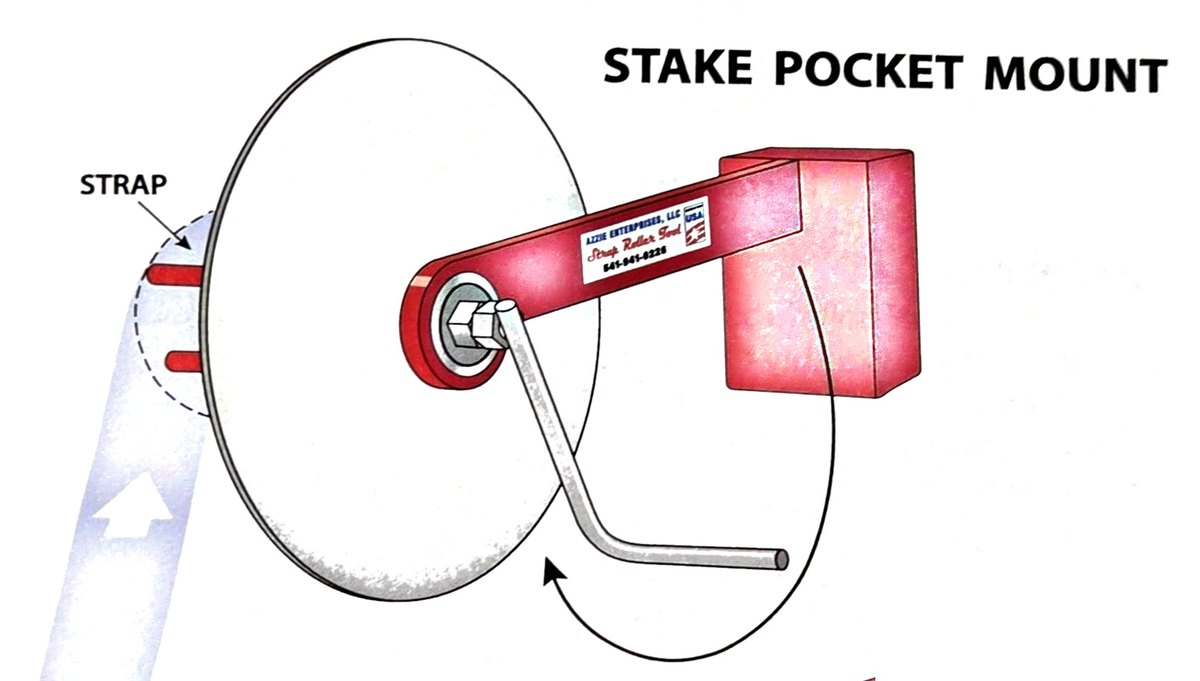
Stake Pocket Mount
To mount, insert the bracket into the pocket sleeve on the trailer.
Tools needed
Two 15/16 in. wrenches, or one 15/16 in. wrench and one adjustable-end wrench.
What is in the box
- 1 bolt, 1 3/4 x 5/8
- 1 three finger strap spool (red)
- 1 flat washer, 5/8"
- 1 backing disk, 8"
- 1 mounting bracket (red)
- 1 nut, 5/8"
- 1 crank handle
Assembly, steps 1 to 6
- Insert 1 3/4" bolt through the three finger spool.
- Insert this assembly through the hole in the 8" backing disk. Slide the 5/8" flat washer onto the bolt shaft on the back side of the disk.
- Slide the spool and disk assembly (bolt) through the bearing in the mounting bracket.
- Secure the spool and disk with the 5/8" nut and tighten.
- Install the crank handle onto the remaining bolt shaft.
- Secure the 5/8" bolt with one wrench and tighten the crank handle nut with the other wrench.
Right hand assembly shown. For left hand use, reverse the installation order, putting the handle on the left side.
Step by step diagrams
Redrawn from the Strap Roller assembly sheet. Tap a diagram, or the Open full size button under it, to see it larger. Pinch to zoom.